Cedar Shingle Siding Replacement A Comprehensive Guide
Cedar shingle siding replacement is a significant home improvement project, often chosen for its aesthetic appeal and longevity. This guide delves into the entire process, from initial preparation to final touches, providing a comprehensive overview of materials, installation, and safety precautions. Understanding the lifespan and factors influencing it, along with the common reasons for replacement, is crucial for homeowners considering this undertaking.
This guide details the steps involved, including assessing the existing structure, choosing appropriate materials, and executing a safe and effective installation. We’ll explore various cedar shingle types, their durability, and cost considerations. A detailed checklist for preparation, a comparison table of shingle options, and a step-by-step installation guide are included to ensure a successful project. Finally, we’ll discuss the financial aspects, including cost estimations and timelines, along with essential safety precautions to minimize risks.
Introduction to Cedar Shingle Siding Replacement
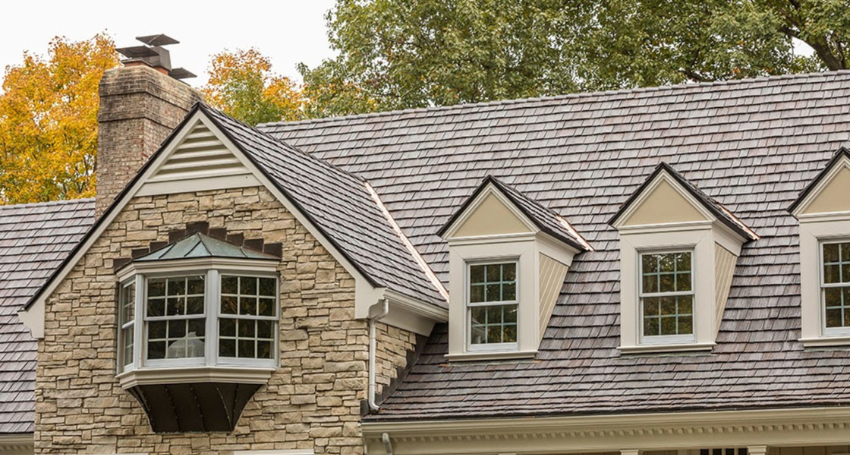
Cedar shingle siding, a classic choice for exterior home finishes, is known for its natural beauty and resilience. These shingles, typically made from pressure-treated cedar wood, offer a warm, rustic aesthetic. They are a popular choice for their inherent durability and ability to weather various climates.
Cedar shingle siding’s lifespan is typically around 20 to 30 years, although this can vary significantly depending on factors such as climate, maintenance, and the quality of the wood. Exposure to harsh weather conditions, like prolonged periods of intense sunlight, rain, or freezing temperatures, can accelerate deterioration. Similarly, inadequate maintenance, such as neglecting regular cleaning and repairs, can shorten the siding’s lifespan. For example, homes in coastal regions with high humidity and salt spray will experience quicker deterioration compared to homes in drier climates.
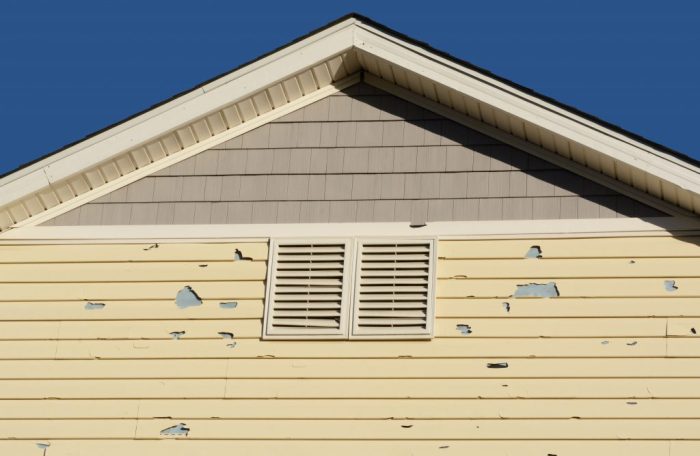
Homeowners often opt to replace cedar shingle siding due to visible damage from rot, insect infestation, or weathering. The cost-effectiveness of replacement, in the long run, is a significant factor, as repairs can become increasingly expensive and time-consuming as damage progresses. Moreover, updated aesthetics, architectural style changes, and enhanced energy efficiency often drive the decision for replacement.
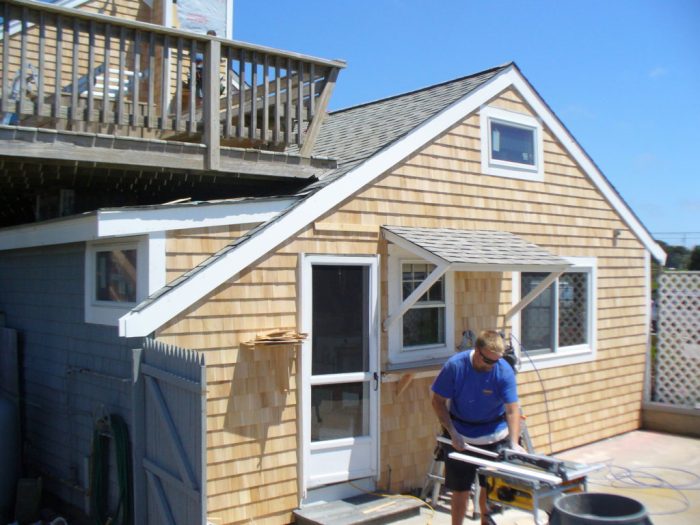
The process of cedar shingle siding replacement typically involves careful removal of the old siding, ensuring no damage to the underlying structure. This is followed by a thorough inspection and repair of the sheathing, ensuring proper installation. Finally, the new cedar shingles are installed according to manufacturer’s specifications and local building codes. Professional contractors are usually recommended for this project due to the complexities involved in the installation process.
Factors Affecting Cedar Shingle Siding Lifespan
Several factors significantly impact the longevity of cedar shingle siding. The quality of the wood, the method of treatment (if any), and the installation techniques all contribute to its durability. Consistent maintenance practices, like regular cleaning and addressing minor damage promptly, extend the lifespan. Furthermore, exposure to harsh weather conditions, such as excessive moisture or extreme temperature fluctuations, can drastically shorten the siding’s lifespan. For instance, a home in a region with frequent and heavy snowfall will likely require more upkeep compared to one in a sunny desert climate.
Common Reasons for Cedar Shingle Siding Replacement
Homeowners choose to replace their cedar shingle siding for various reasons. Damage from rot or insect infestation is a significant concern, as these issues can lead to significant structural damage if left untreated. Similarly, the need for aesthetic upgrades, such as changing the architectural style or adding a modern touch, often prompts siding replacements. Moreover, homeowners may wish to improve energy efficiency by installing newer, more energy-efficient siding.
Pros and Cons of Cedar Shingle Siding Replacement
| Pros | Cons |
|---|---|
| Enhanced curb appeal and property value. | Potential for higher costs compared to other siding options. |
| Natural beauty and aesthetic appeal. | Time-consuming process, requiring professional expertise. |
| Relatively durable if maintained properly. | Potential for moisture damage if not properly installed. |
| Potential for long-term value. | Vulnerability to insect infestations and rot if not treated properly. |
Preparation for Cedar Shingle Siding Replacement
Proper preparation is crucial for a successful cedar shingle siding replacement project. It minimizes potential issues during installation, ensures a strong and lasting result, and allows for a more efficient workflow. Thorough assessment of the existing structure and siding is vital to accurately planning the replacement process.
Careful evaluation of the existing structure and siding is paramount. This proactive step helps to identify potential issues early on, preventing costly surprises or complications later in the project. Understanding the condition of the existing siding, including any damage or rot, is essential for making informed decisions regarding the replacement process. Accurate measurements and documentation are key for ordering the correct materials and ensuring a precise installation. Having a well-defined plan and a detailed checklist simplifies the process and helps manage potential problems.
Assessing the Existing Structure
A thorough inspection of the existing home structure is necessary before starting the replacement project. This involves checking the supporting framing, sheathing, and any existing flashing for signs of damage or deterioration. Look for any areas of rot, insect infestation, or structural weakness. Identifying these issues early allows for necessary repairs or reinforcements to be made before the siding is replaced. This prevents potential future problems related to the support system. Such structural assessments should include detailed photographic documentation.
Assessing the Existing Siding
Evaluating the condition of the existing cedar shingle siding is critical for planning the replacement. Look for signs of damage such as missing or broken shingles, rot, warping, or insect infestation. Moisture penetration can lead to significant damage, so it’s essential to identify any areas with excessive moisture or water damage. Assess the quality and condition of the existing flashing, which acts as a barrier against water penetration. Note the location and extent of any damage for proper material selection and installation planning. A detailed photographic record of damage is essential for ordering the appropriate replacement materials.
Measurements and Documentation
Accurate measurements and detailed documentation are critical for ordering the right amount of materials and ensuring precise installation. Measure the dimensions of each section of the siding to be replaced, including any unique shapes or configurations. Document the location and extent of any damage, such as rotted areas or missing shingles. Create detailed diagrams or sketches, if necessary, to clearly show the layout and any specific requirements for the replacement. Using a measuring tape, lea level, and a camera for documentation is essential. These records act as a guide during the replacement process, minimizing errors and ensuring a seamless outcome.
Tools and Materials
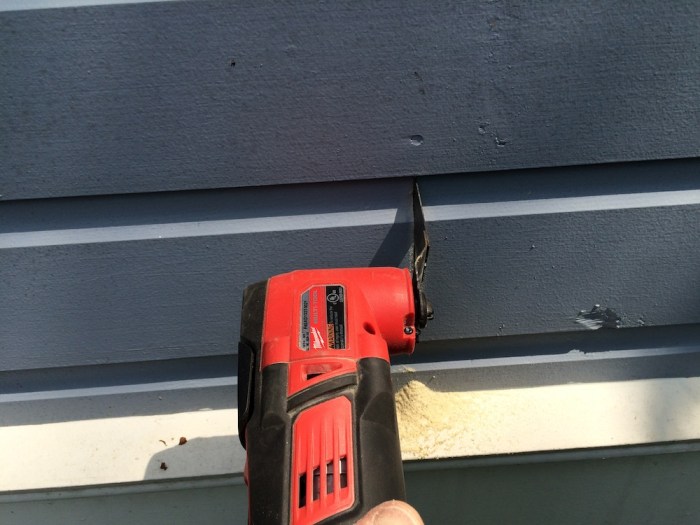
The tools and materials required for the preparation phase vary depending on the specific needs of the project. Essential tools may include a measuring tape, a level, safety glasses, and a ladder. The necessary materials include cleaning supplies, such as a pressure washer or a stiff brush. Additional materials might include specialized tools for removing existing siding, such as pry bars or a siding scraper. Having the correct tools and materials on hand prevents delays and ensures a smooth workflow during the preparation process.
Preparation Checklist
- Inspect the existing structure: Look for signs of damage, rot, or weakness in the framing, sheathing, and flashing. Document any issues with detailed photographs.
- Assess the existing siding: Identify damaged or deteriorated shingles, rot, warping, insect infestation, and areas of moisture penetration. Record the extent and location of any damage with detailed photographs.
- Take precise measurements: Measure the dimensions of each section to be replaced, noting any unique shapes or configurations. Document these measurements accurately.
- Document existing conditions: Create detailed diagrams or sketches of the siding layout and any specific requirements. Use a camera to record all aspects of the current siding for reference.
- Gather necessary tools and materials: Ensure you have the required tools, including a measuring tape, level, safety glasses, ladder, cleaning supplies (pressure washer or stiff brush), and any specialized tools for removing existing siding.
- Plan the removal process: Develop a strategy for removing the old siding, considering the structural integrity and any potential safety concerns. This plan should also factor in the amount of material needed for replacement.
Choosing the Right Materials for Cedar Shingle Siding Replacement

Source: woodroof.com
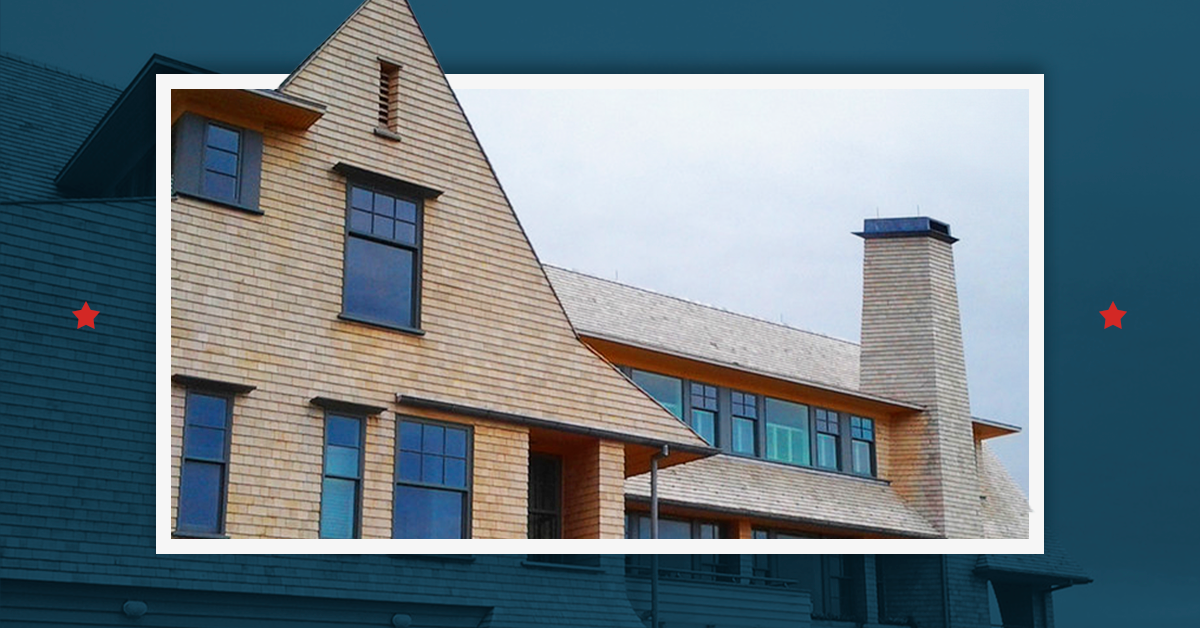
Selecting the appropriate cedar shingle materials for your siding replacement project is crucial for achieving a durable, aesthetically pleasing, and cost-effective outcome. Careful consideration of shingle type, grade, installation method, wood variety, and fasteners is essential to ensure longevity and minimize future maintenance needs. This section delves into the various aspects to help you make informed decisions.
Understanding the different types of cedar shingles, their grades, and installation methods empowers homeowners to select the optimal materials for their specific needs. A well-informed decision process ensures a siding system that meets aesthetic preferences and structural requirements.
Types of Cedar Shingles
Cedar shingles are available in various types, each with unique characteristics impacting their suitability for different applications. The most common types include:
- Standard Cedar Shingles: These are the most widely used and typically offer a balance of cost and performance. They are a good choice for homeowners seeking a practical solution without compromising on quality.
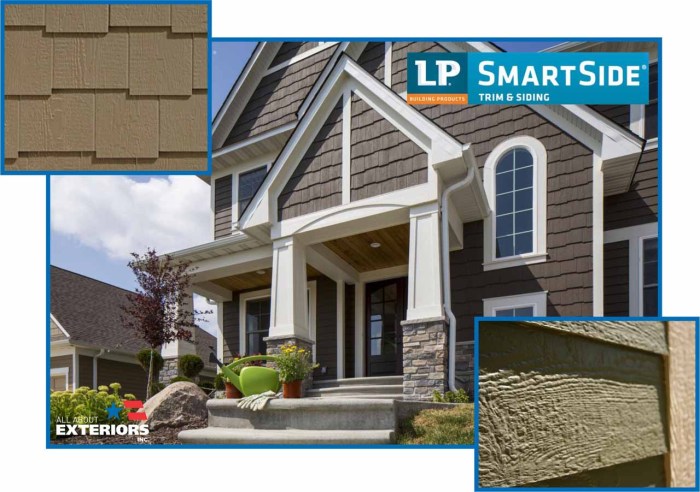
- Architectural Cedar Shingles: Designed for a more ornate aesthetic, these shingles often have a wider variety of profiles and sizes. They may offer a greater degree of visual appeal but may come with a higher price point.
- Hand-split Cedar Shingles: These are often prized for their natural appearance and unique characteristics. The splitting process gives each shingle a slightly irregular profile. This method can result in a more rustic and distinctive look, but also impacts cost.
Cedar Shingle Grades
Cedar shingle grades reflect the quality and consistency of the wood. Understanding these grades is vital to determining the appropriate balance between cost and performance for your project.
- Select Grade: These shingles exhibit minimal defects, resulting in a more uniform and visually appealing finish. They are often preferred for projects where a high level of quality is desired.
- Economy Grade: These shingles may exhibit minor imperfections. They offer a more budget-friendly option, though they might require more attention during installation.
- Prime Grade: Representing a middle ground, Prime grade shingles exhibit a moderate level of quality and are a good balance between price and performance.
Installation Methods
Cedar shingle installation methods significantly impact the longevity and aesthetic appeal of the finished product. Different methods are suitable for different project needs.
- Standard Layering: This method involves overlapping shingles traditionally, ensuring water resistance and a protective covering. This is the most common and practical method for residential siding.
- Modified Layering: More complex than standard layering, modified layering involves unique overlapping patterns. This method can enhance visual appeal but may necessitate more specialized skills for installation.
- Advanced Techniques: These techniques, such as using metal accessories and specialized fastening methods, can further enhance the durability and water resistance of the cedar shingle siding. These methods often involve additional cost and specialized expertise.
Cedar Wood Types and Durability
Different types of cedar wood influence the durability and lifespan of the siding. This selection process is a crucial element of a successful replacement project.
- Western Red Cedar: Known for its excellent resistance to rot and decay, Western Red Cedar is a popular choice for siding. Its naturally occurring oils contribute to its durability.
- Eastern White Cedar: Often preferred for its straight grain and workability. Its resistance to rot and decay is slightly less pronounced than Western Red Cedar, but its workability and aesthetic qualities make it a viable option.
Fasteners and Accessories
Selecting appropriate fasteners and accessories is crucial for the proper installation and longevity of the cedar shingle siding. The choice directly impacts the durability of the system.
- Copper Nails: A popular choice for their corrosion resistance, copper nails offer a long-lasting solution for attaching shingles to the underlying structure.
- Zinc-coated Nails: An economical alternative to copper nails, zinc-coated nails provide a good balance between cost and corrosion resistance.
- Specialized Accessories: Accessories like flashing, trim pieces, and sealant can enhance the water resistance and overall aesthetic of the installation.
Comparison Table of Cedar Shingle Options
| Shingle Type | Durability | Cost | Installation |
|---|---|---|---|
| Standard Cedar Shingles | Good | Moderate | Straightforward |
| Architectural Cedar Shingles | Good | High | Moderate Complexity |
| Hand-split Cedar Shingles | Good | High | Moderate Complexity |
Installation of Cedar Shingle Siding Replacement
Installing cedar shingle siding requires meticulous attention to detail, ensuring a watertight and aesthetically pleasing finish. Proper installation techniques are crucial for the longevity and beauty of the new siding. Careful adherence to these steps will prevent costly repairs and ensure the integrity of your home’s exterior.
Step-by-Step Installation Procedure
A systematic approach to cedar shingle installation is paramount for achieving a professional-quality result. Each step builds upon the previous one, ensuring a cohesive and durable finish.
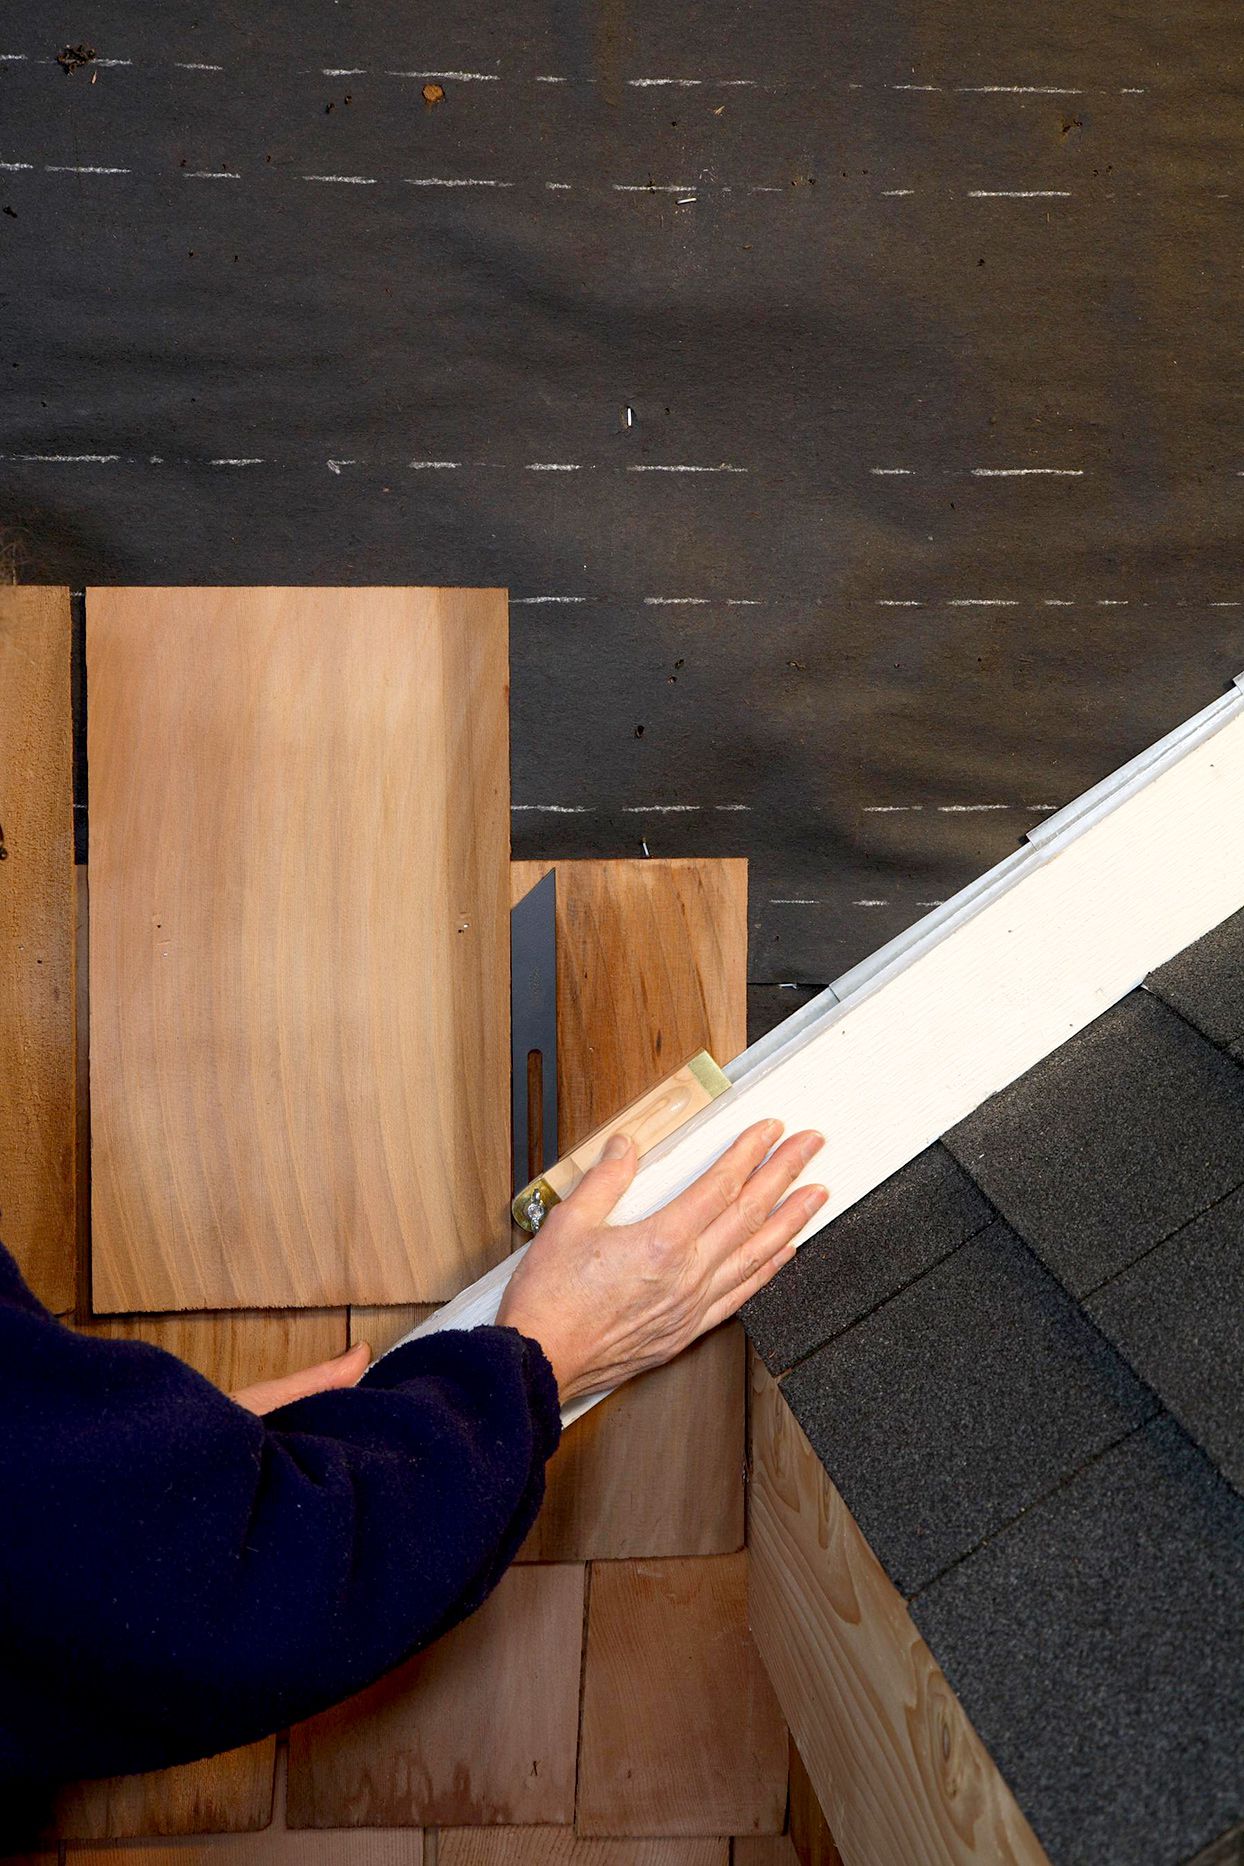
Step 1: Prepare the substrate. Thoroughly inspect and clean the existing sheathing or framing. Remove any loose debris, nails, or damaged wood. Ensure the surface is completely dry and free from any contaminants. Repair any structural deficiencies before proceeding with installation.
Step 2: Install starter strips. These strips, typically made of cedar or treated lumber, are crucial for creating a solid foundation for the first row of shingles. They provide a consistent starting point for the shingles and help to prevent water penetration. The starter strip should be properly fastened to the wall using appropriate fasteners.
Step 3: Install the first row of shingles. Begin with the bottom row, carefully aligning the shingles with the starter strip. Overlapping the shingles properly is essential for creating a watertight seal. Use a shingle cutter to ensure a precise fit. Ensure that the shingles are fastened securely to the wall.
Step 4: Install subsequent rows. Continue installing rows, ensuring consistent shingle overlap. Stagger the shingles in each row to create a visually appealing and water-resistant pattern.
Step 5: Install the ridge shingles. Carefully install ridge shingles at the peak of the roof, providing a weather-resistant barrier and completing the roofline.
Step 6: Inspect and seal. Thoroughly inspect all installed shingles for any gaps, overlaps, or loose fasteners. Seal any potential gaps with appropriate caulk to prevent water penetration.
Importance of Spacing and Alignment
Proper spacing and alignment of cedar shingles are crucial for preventing water damage and maintaining the structural integrity of the siding. Consistent spacing and alignment not only enhance the appearance of the siding but also provide a more durable barrier against water penetration.
- Consistent shingle overlap is critical. Proper overlap, typically between 5/8″ to 1″, prevents water from seeping between shingles.
- Staggering shingles in each row ensures a visually appealing and watertight pattern. Staggering also allows for better water runoff and prevents water pooling.
- Accurate alignment of shingles with starter strips is crucial for a uniform and aesthetically pleasing finish.
Water Damage Prevention
Preventing water damage during and after installation is essential for the longevity of the cedar siding. Moisture intrusion can lead to rot, mildew, and structural damage. This is especially true for cedar, which is susceptible to moisture-related issues.
- Properly sealing any gaps or cracks is paramount. Using caulk or sealant effectively prevents water from entering the siding system.
- Ensuring proper ventilation is important. Proper ventilation allows moisture to escape and prevents water buildup.
- Regular maintenance is essential. Inspecting the siding periodically for signs of water damage and addressing any issues promptly is vital.
Fastening Methods
Using appropriate fastening methods is crucial for securing the cedar shingles to the structure. Choosing the right fastener type and installation technique ensures a strong and lasting bond.
- Nails are commonly used for fastening cedar shingles. Using galvanized nails helps to prevent rust and extends the lifespan of the siding.
- Staples are an alternative fastening method for certain applications. Using the correct staple gun ensures the shingles are securely attached.
- Special cedar shingle fasteners are available for specific applications. These fasteners are designed to minimize damage to the shingles and ensure proper attachment.
Finishing Touches and Considerations

Completing the cedar shingle siding replacement project involves more than just installation. Careful attention to finishing details ensures a long-lasting, aesthetically pleasing result. Proper sealing, painting, and ventilation are crucial to the longevity and performance of the new siding. Maintenance strategies are also key for preserving the beauty and structural integrity of the installation.
Finishing Edges and Seams
Precisely finishing the edges and seams of the cedar shingles is essential for a professional appearance and water resistance. Using appropriate tools and techniques, such as specialized cedar shingle pliers, miter saws, or even hand tools, ensures clean cuts. Overlapping shingles in a consistent pattern and carefully adjusting them to avoid gaps is important. Using a sealant specifically designed for cedar shingles along the edges and seams is crucial. This seals out moisture and prevents rot, extending the lifespan of the siding. Properly sealing the edges and seams helps create a weather-tight barrier, preventing water from seeping beneath the shingles and causing damage to the underlying structure.
Sealing and Painting the Siding
Proper sealing and painting of the new cedar siding is a crucial step in ensuring its durability and aesthetics. A high-quality, breathable sealant designed for cedar siding should be applied to all edges, seams, and joints to protect against moisture penetration. Applying a quality exterior paint is important, too. Select paints specifically formulated for exterior use, preferably ones that offer UV resistance and protection against the elements. This will enhance the siding’s longevity and prevent premature fading or deterioration. Thorough application of sealant and paint, paying special attention to corners and joints, will create a waterproof barrier.
Ventilation Considerations
Adequate ventilation around the cedar siding is vital for preventing moisture buildup and rot. Ensuring proper air circulation is crucial for preventing moisture from accumulating behind the siding, which can lead to significant damage over time. This includes installing proper soffit vents, ridge vents, and ensuring sufficient space between the siding and the house’s structure. Ventilation strategies should be aligned with local building codes and manufacturer recommendations for optimal performance. Proper ventilation maintains the health of the underlying structure and promotes a healthy indoor environment.
Long-Term Maintenance Strategies, Cedar shingle siding replacement
Regular maintenance is crucial for preserving the beauty and structural integrity of cedar shingle siding. Inspect the siding for any signs of damage, such as rot, mold, or loose shingles, at least once a year. Address any issues promptly to prevent them from escalating. Applying a sealant to the siding every few years, depending on the severity of the climate, can protect the wood from moisture and damage. Cleaning the siding periodically with mild soap and water helps to maintain its appearance. Regular maintenance minimizes the risk of damage, extending the lifespan of the siding significantly.
Tips for a Flawless Finish
- Use high-quality, weather-resistant materials for sealing and painting.
- Ensure proper shingle overlap for optimal water resistance.
- Apply sealant and paint in multiple thin coats for even coverage and protection.
- Inspect and maintain ventilation systems regularly.
- Consult with a professional if needed for complex installations or concerns.
Summary Table
| Step | Description | Importance |
|---|---|---|
| Finishing Edges and Seams | Carefully finish shingle edges and seams with appropriate tools and sealants. | Creates a watertight barrier and a professional appearance. |
| Sealing and Painting | Apply a high-quality, breathable sealant and exterior paint. | Protects against moisture and UV damage, increasing the lifespan of the siding. |
| Ventilation | Ensure adequate ventilation around the siding to prevent moisture buildup. | Prevents rot, damage, and maintains a healthy indoor environment. |
| Maintenance | Regularly inspect and maintain the siding for any damage. | Extends the lifespan of the siding and prevents costly repairs. |
Cost and Timeline for Cedar Shingle Siding Replacement
Replacing cedar shingle siding can be a significant undertaking, requiring careful consideration of costs and timelines. Understanding these factors is crucial for effective planning and budgeting. This section will delve into the key aspects influencing the price and duration of your project.
The cost of replacing cedar shingle siding is influenced by a variety of factors, making precise estimates challenging without specific details of the project. These factors are discussed in detail below.
Factors Influencing Cost
Several elements significantly impact the total cost of your cedar shingle siding replacement. Material costs, labor rates, the complexity of the project, and the condition of the existing structure all play a role. Furthermore, geographic location, the contractor’s experience, and the scope of the project also contribute to the final price.
Estimating Cost Ranges
Project size is a primary determinant in estimating the cost range. A small, single-story house with a relatively straightforward replacement will typically cost less than a larger, multi-story home with intricate architectural details or extensive damage.
- Small Projects (e.g., a small section of siding on a single-story home): Replacement costs for a small project could range from $5,000 to $10,000. This estimate encompasses materials, labor, and potentially minor repairs.
- Medium Projects (e.g., a full-house siding replacement on a two-story home): Medium-sized projects might range from $15,000 to $30,000. These projects usually involve a larger volume of materials and more extensive labor hours.
- Large Projects (e.g., a full-house siding replacement on a multi-story home with complex architectural details): Large-scale projects can easily exceed $30,000 and may extend to $50,000 or more. This is due to the substantial amount of materials, increased labor hours, and the complexity of the project.
Estimating Labor Costs
Labor costs are a substantial portion of the total replacement cost. Accurate estimation requires understanding the contractor’s hourly rates, the number of workers needed, and the complexity of the work involved. Factors like the removal of the old siding, the preparation of the structure, and the installation of the new shingles contribute to the labor time.
- Experienced contractors typically charge higher rates per hour than less experienced ones.
- The size and scope of the project will determine the number of labor hours required.
- Local labor rates vary significantly, impacting the overall project cost.
Typical Timelines
The timeline for a cedar shingle siding replacement is dependent on the size of the project and the complexity of the work. A small project might take a few days, while a large project could take several weeks. The weather can also impact the timeline.
- Small Projects: A small replacement project can typically be completed within 1-2 weeks, depending on weather conditions and the contractor’s schedule.
- Medium Projects: Medium-sized projects typically take 2-4 weeks to complete.
- Large Projects: Large projects might take 4-6 weeks or longer, depending on factors like weather, material availability, and the complexity of the project.
Importance of Multiple Quotes
Getting multiple quotes from reputable contractors is highly recommended. This allows for a comprehensive comparison of pricing, timelines, and service quality. This crucial step helps you make an informed decision and potentially save money. Contractors’ approaches and experience levels can vary considerably.
Safety Precautions for Cedar Shingle Siding Replacement
Replacing cedar shingle siding can be a rewarding project, but safety must be paramount. Proper precautions prevent injuries and ensure a smooth, successful installation. Thorough preparation and adherence to safety guidelines are crucial for the well-being of all involved.
Thorough planning and adherence to safety protocols are critical to mitigate risks associated with the project. This includes identifying potential hazards and using appropriate safety gear to prevent accidents during the preparation, installation, and finishing stages. By prioritizing safety, you protect yourself and your crew from avoidable injuries.
Preparation Phase Safety
Proper preparation significantly reduces the risks associated with the project. A meticulous approach to the initial steps minimizes potential hazards. This includes securing the work area, clearing debris, and evaluating the structural integrity of the existing siding.
- Secure the Work Area: Use barricades or caution tape to cordon off the work area, preventing unauthorized access and ensuring the safety of bystanders. This precaution is essential to prevent accidental injuries.
- Assess Existing Conditions: Carefully examine the existing siding for loose or damaged components. Identify any potential hazards, like unstable roof sections or protruding nails, that could pose a risk during the removal process.
- Protect Surrounding Areas: Cover landscaping, vehicles, and other property from falling debris or materials. Using drop cloths or tarps will protect the surrounding environment from damage.
- Proper Ventilation: Ensure adequate ventilation to control dust and debris, particularly when removing old siding. This is vital for the safety and health of workers.
Installation Phase Safety
Proper installation techniques and the use of appropriate equipment are essential for worker safety during the siding replacement process.
- Use Proper Fall Protection: When working at heights, employ fall protection measures like harnesses, lanyards, and safety nets. This is a critical safety measure, especially when working on roofs or elevated areas.
- Appropriate Scaffolding: Use stable and properly erected scaffolding or ladders for elevated work. Inspect scaffolding before use to ensure structural integrity.
- Control of Debris: Implement measures to manage debris during the installation process, preventing tripping hazards and ensuring worker safety. Regularly clear the work area of debris.
- Weather Considerations: If working in inclement weather, take necessary precautions, such as postponing the project or using appropriate protective gear. This is to avoid injury due to extreme conditions.
Finishing Phase Safety
The finishing phase involves careful attention to detail and proper cleanup. This final stage ensures a safe and efficient conclusion to the project.
- Thorough Inspection: Carefully inspect all work for potential hazards or imperfections before finalizing the project. This includes checking for loose nails, uneven seams, or gaps in the siding.
- Cleanup Procedures: Implement a thorough cleanup plan, including the removal of all debris, tools, and equipment from the work area. This is important for the safety of the surrounding area and for future work.
- Secure Materials: Properly store or dispose of any leftover materials. Ensure that materials are secured to prevent accidental damage or injuries.
Safety Equipment
Using appropriate safety equipment is critical for minimizing risks during the project.
- Personal Protective Equipment (PPE): Always wear appropriate PPE, including safety glasses, gloves, hard hats, and steel-toe boots. This is essential for protecting against potential hazards during the project.
- Protective Clothing: Wear clothing that protects against the elements and debris. This could include waterproof jackets or coveralls, particularly during inclement weather.
- Hearing Protection: Use hearing protection, especially when using power tools or during loud work activities. This is important for preventing long-term hearing damage.
Last Recap
In conclusion, replacing cedar shingle siding is a substantial undertaking that requires careful planning and execution. This guide has provided a comprehensive overview, covering all essential aspects from initial assessment to final considerations. By understanding the factors affecting lifespan, preparing the home effectively, selecting the right materials, and adhering to safety guidelines, homeowners can confidently embark on this renovation project. Remember, proper planning and execution are key to achieving a beautiful and durable result.